Tips for Capturing Autumn Leaf Color on Your Hiking Adventures: Essential Photography Guide
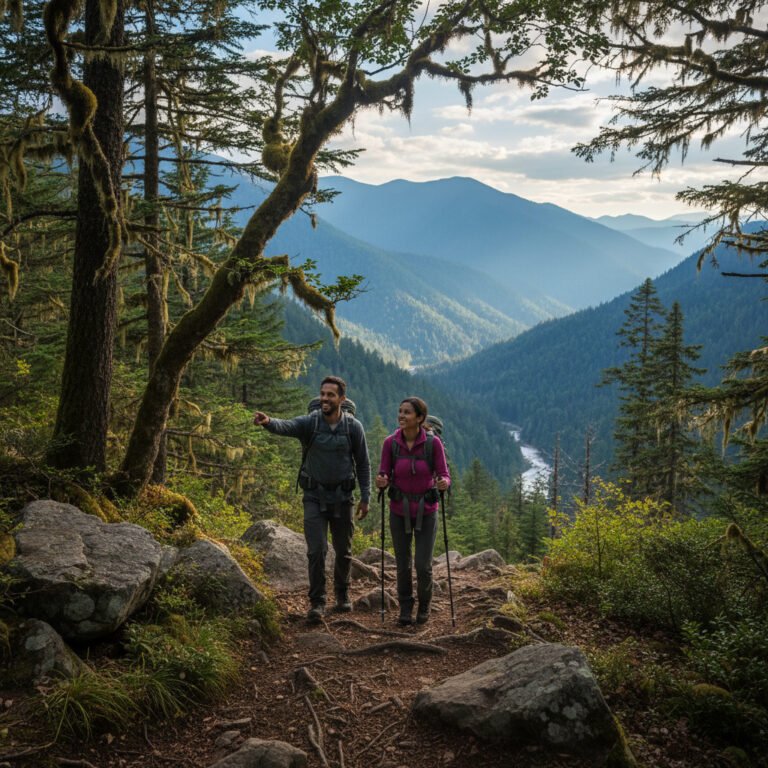
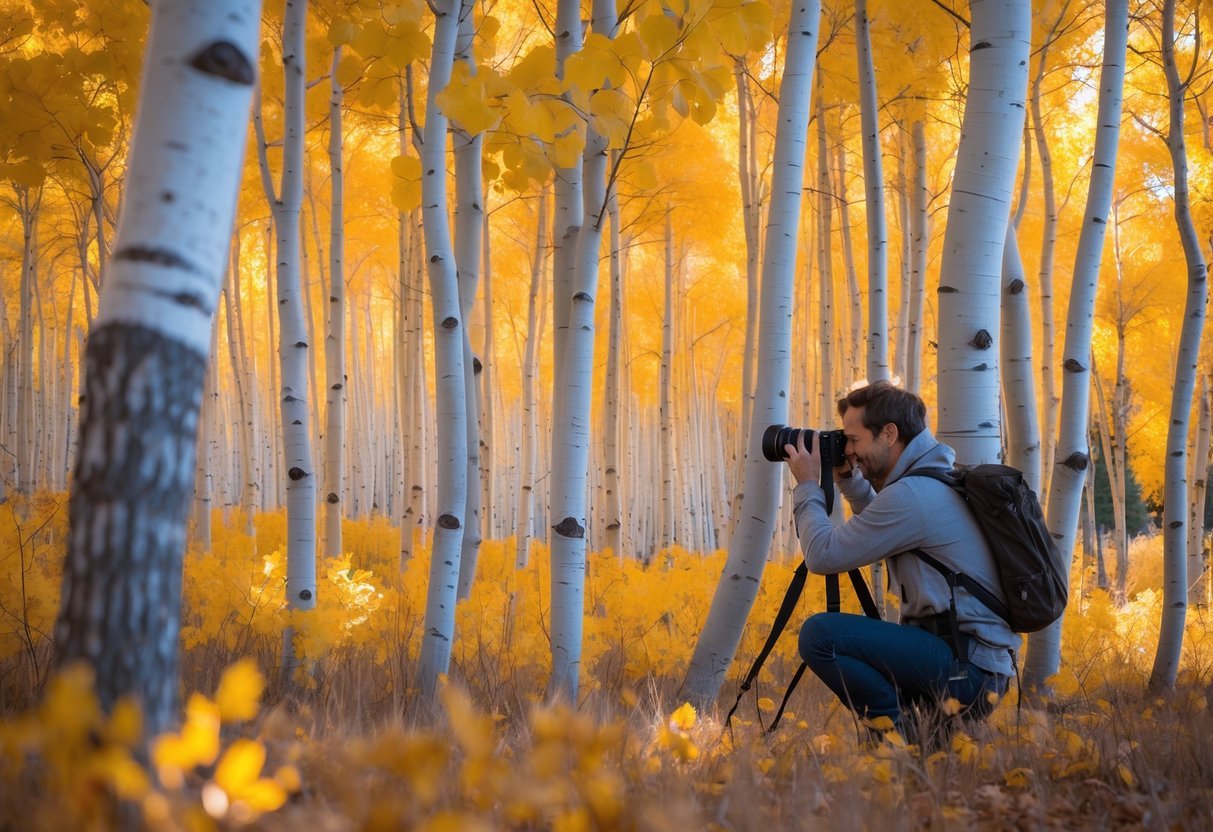
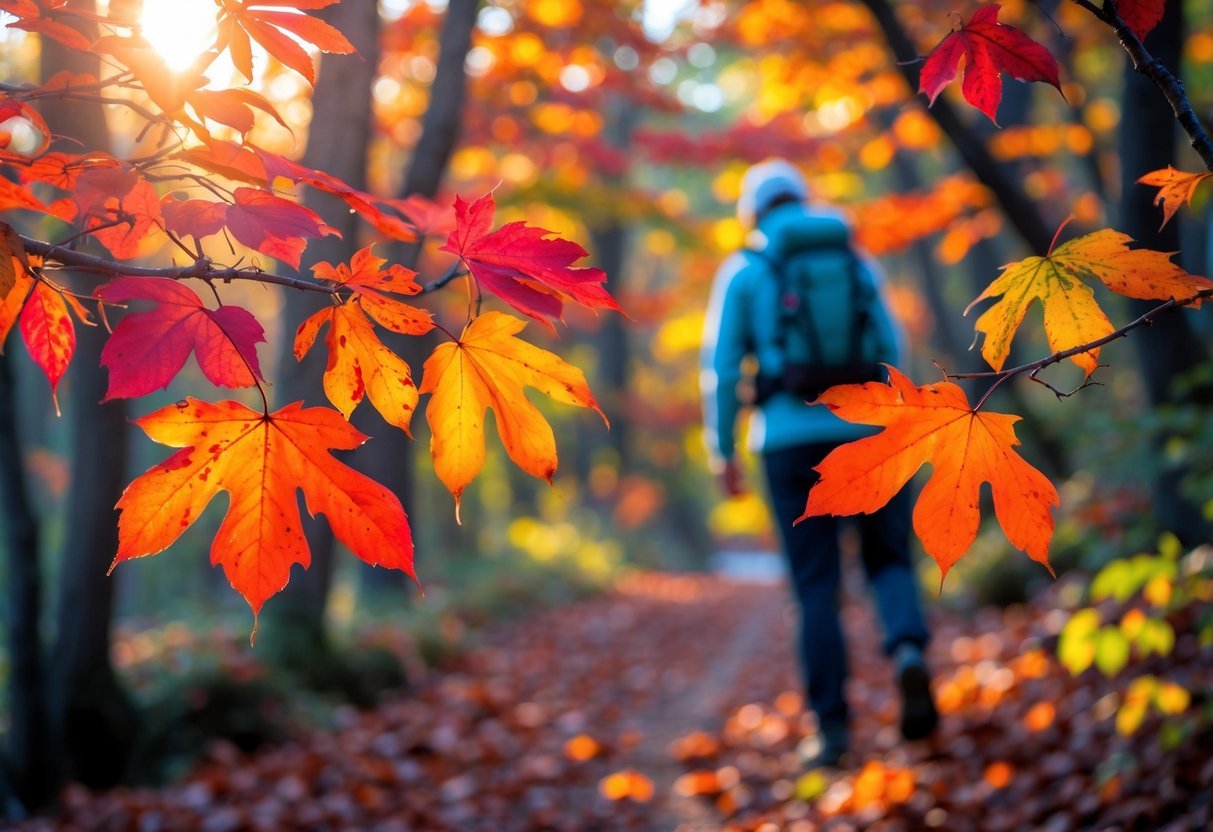
Fall hiking season is finally here, and honestly, there’s no better excuse to bring your camera along for the ride. The way summer’s green fades out and those reds, oranges, and yellows take over? It’s a show that begs to be captured. If you pause for a few photos, you’ll have memories to flip through long after the last leaf hits the ground.
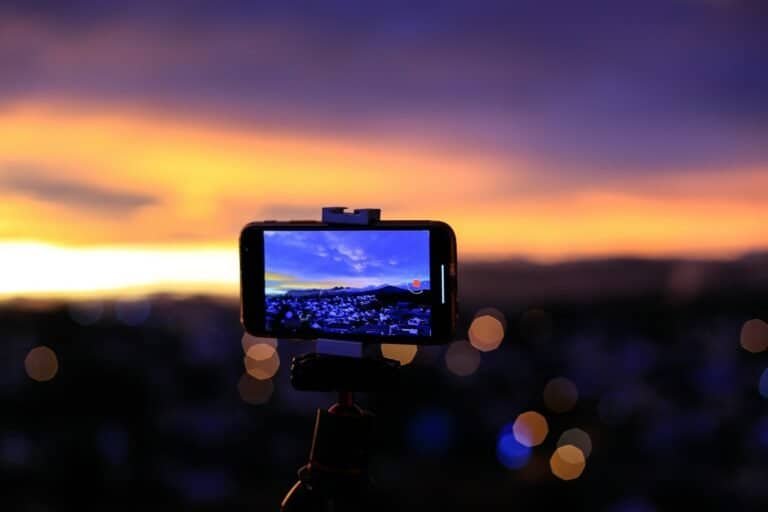
The key to nailing fall foliage shots is getting a feel for light, timing, and composition—those are what make the colors leap out of your photos. It doesn’t matter if you’re snapping with a phone or a fancy camera; a few simple tweaks can make a world of difference. Overcast days are actually your friend here—they make the colors richer and keep those harsh shadows at bay.
Most folks go straight for the big panoramic views, but autumn is full of surprises if you look closer. Macro shots of dewy leaves, or catching fog weaving through the trees—there’s more to it than just wide landscapes. Sometimes, the best photos happen when you least expect it, when the light and color just click for a second on the trail.
Planning for Peak Autumn Colors
If you want to catch the leaves at their best, you’ll need a bit of strategy. The color change is quick and honestly, it’s different every year depending on where you are, how high up you’re hiking, and what the weather’s been doing.
Timing Your Hike for Peak Fall Foliage
Colors usually start showing up at higher elevations first. In the mountains, you might see the leaves turning up above 9,000 feet, while down in the valleys, it’s still pretty green. This whole process kicks off in late September and can stretch through October, but it really depends on the region.
Scout your spots early so you don’t miss that short window when the colors are just right. Every autumn’s a little different—no two seasons are exactly alike.
There are some surprisingly handy fall foliage trackers and apps out there. Many state Departments of Natural Resources post updates on where the colors are peaking, which can save you a wasted drive.
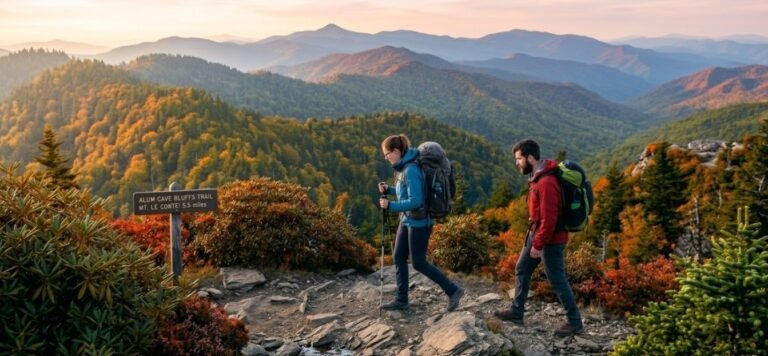
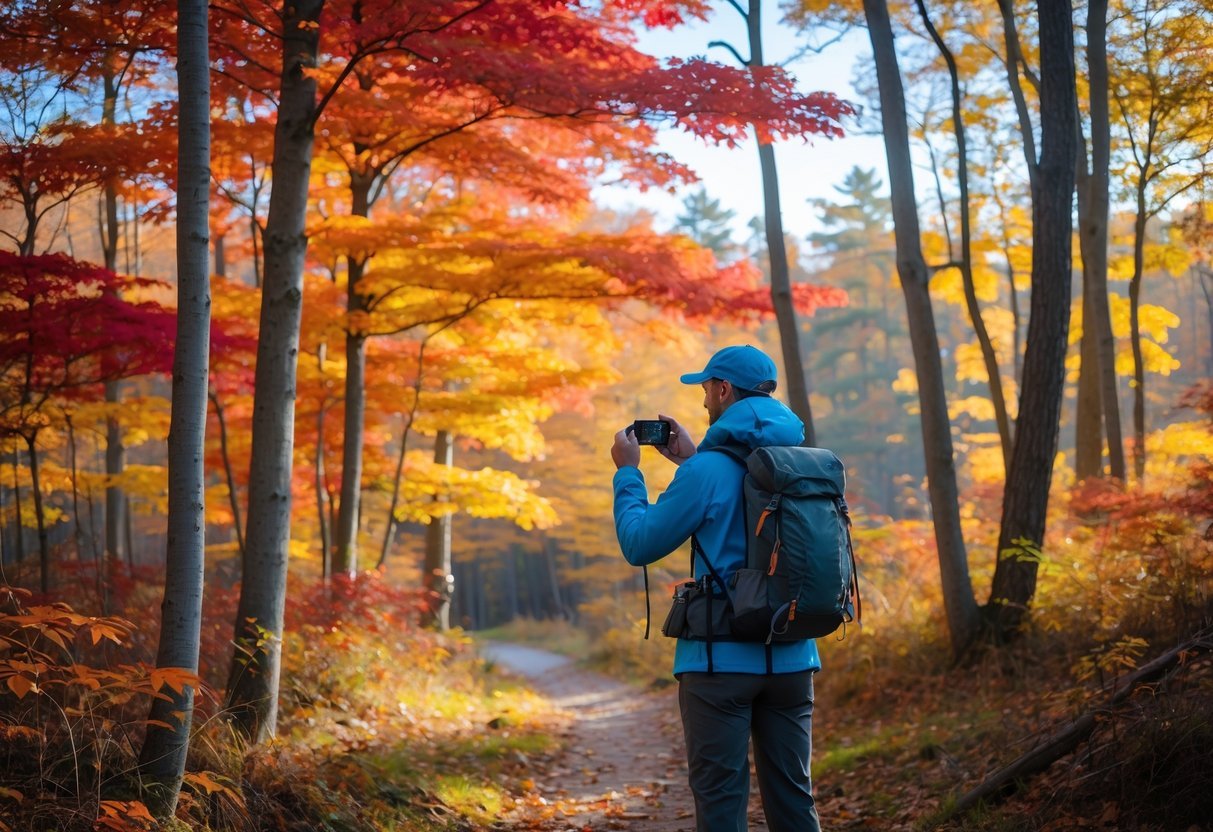
If you’re after photos that really pop, try hitting the trails when the colors are mixed—some green, some yellow, some red. That patchwork is way more interesting than a wall of just one color, at least in my book.
Scouting Locations for Diverse Fall Scenes
Start researching places before fall sneaks up. National and state parks are usually a safe bet for epic color, and they tend to have well-marked trails, which is always a bonus.
Water features like streams or lakes? Gold. The reflections add a whole new layer to your photos. And if you can find spots with a mix of trees, you’ll get a better range of colors.
It’s worth seeking out spots where evergreen and deciduous trees grow together. That contrast can really make the autumn colors pop.
Ridges, valleys, open meadows—they all give you different takes on the changing leaves. Try to find places where you can shoot both close-ups and those wide, sweeping shots. Jot down notes about locations, how tough the hike is, and when the colors peaked in past years. It’ll come in handy.
Checking Weather and Light Conditions
Weather can make or break your fall photos. Funny enough, cloudy days are usually best for color; the soft light is super flattering and you don’t get those blown-out highlights.
After a rain, the leaves look even brighter—everything’s got this glossy, saturated look. Same goes for mornings with dew, especially if you catch that early light.
Wind is the enemy of sharp leaf photos, especially if you’re shooting close up or trying to catch reflections. Check the wind forecast before you head out if you’re hoping for those still-water or macro shots.
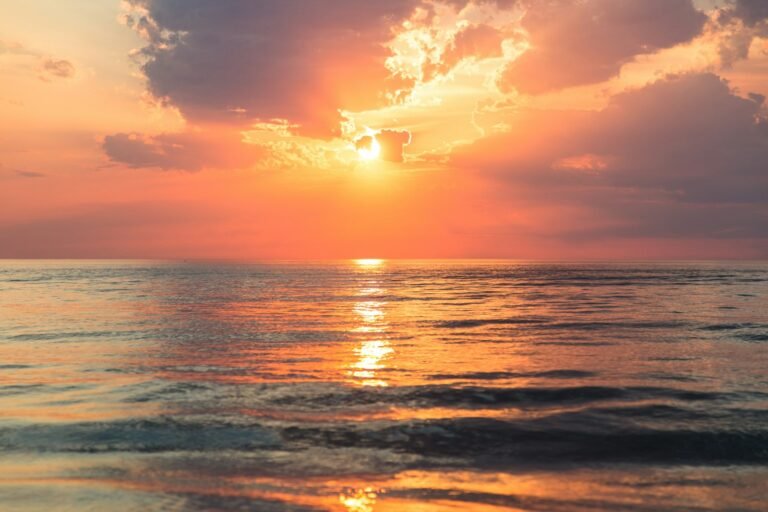
For really dramatic light, look up sunrise and sunset times. The golden hours have that warm, angled light that makes everything glow. Fog and mist can turn a regular forest into something out of a fairytale.
Don’t just trust the big, regional forecasts. Use weather apps that show hourly details for your exact trailhead—it’s worth the extra minute.
Essential Gear and Camera Settings
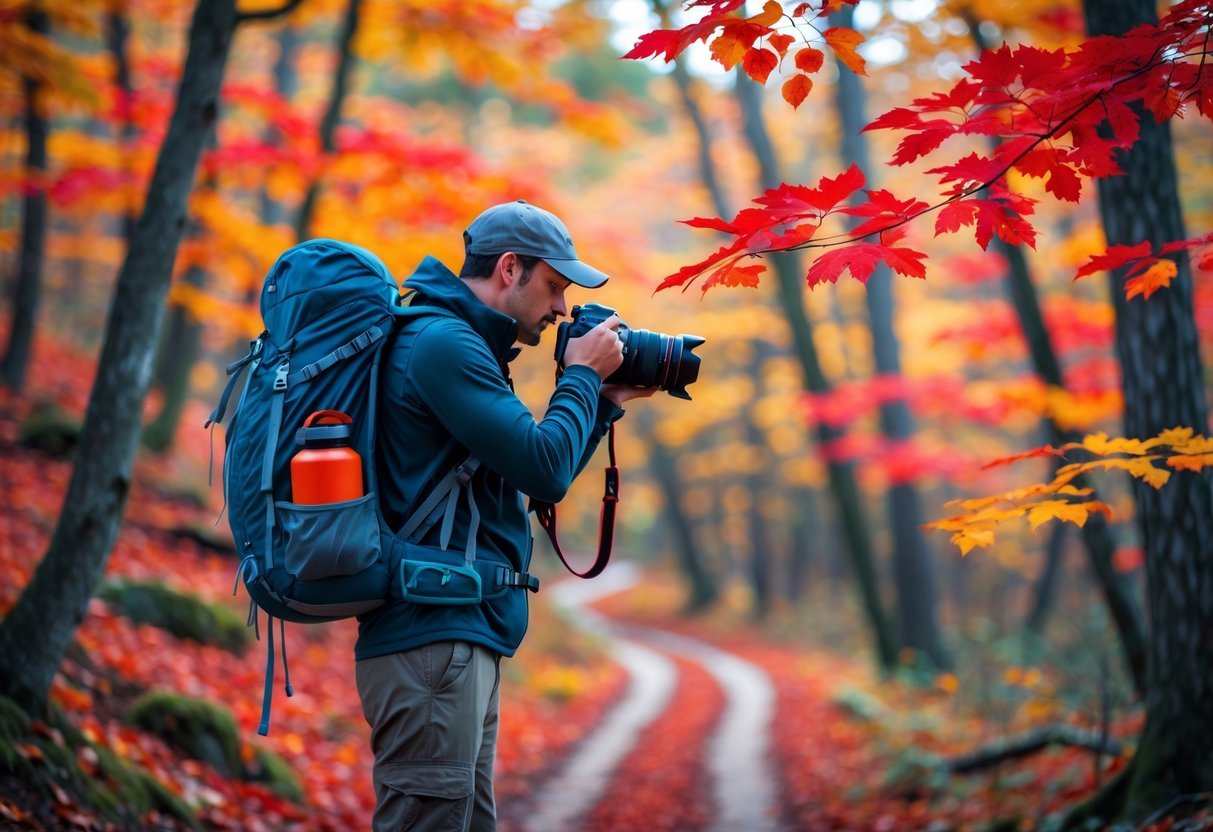
If you want those colors to really sing, your gear and camera settings matter. The right setup can make a huge difference when you’re out there trying to capture all those reds, oranges, and yellows.
Choosing the Right Camera and Lenses
Honestly, both modern DSLR and mirrorless cameras are great for fall photography. Mirrorless cameras let you see exposure changes live, which is handy. If your camera’s got good dynamic range, it’ll help you keep detail in both bright skies and shadowy forests.
Lens-wise, you’ll want something flexible. A standard zoom (24-70mm) covers most landscape needs, wide-angle (16-35mm) is awesome for those big, dramatic views, and a telephoto (70-200mm) is perfect for picking out clusters of colorful leaves or compressing layers of forest.
A lightweight tripod is a lifesaver, especially at dawn or dusk. Carbon fiber tripods are pricey but worth it if you’re hiking far. And pack a lens cleaning kit—autumn weather can be unpredictable, and nothing ruins a shot like a smudge or water spot.
Using Polarizing and ND Filters
If you buy one accessory for fall photos, make it a polarizing filter. It cuts reflections on wet leaves and water, and just makes the colors look deeper—sometimes by a lot. It’ll even darken blue skies for extra contrast with the leaves.
How to get the most from a polarizer:
- Spin it while you look through the viewfinder until the colors look richest
- Remember, it works best when you’re shooting at a right angle to the sun
- Take it off in low light, since it cuts a stop or two of brightness
ND filters are great if you want to slow down your shutter for silky waterfall shots surrounded by fall color. Graduated ND filters can help with tricky exposures—balancing a bright sky with darker leaves below.
Optimizing Camera Settings for Fall Photography
Shoot in RAW if you can—it gives you more wiggle room to tweak colors later. Set your white balance to “Daylight” (around 5500K) so your camera doesn’t wash out those warm autumn tones.
Aperture priority mode (A or Av) is the way to go for landscapes. Try:
- Aperture: f/8 to f/16 for sharpness and depth
- ISO: 100-400 to keep things clean and noise-free
- Shutter speed: Fast enough to freeze any wind-blown leaves
Try dialing in a little negative exposure compensation (-1/3 to -2/3 stop). It can make the colors look richer, but keep an eye on your histogram so you’re not losing detail.
For close-ups, switch to manual focus and zoom in with live view to make sure those leaf veins are razor sharp.
Techniques for Capturing Vibrant Leaf Color
Getting those jaw-dropping autumn colors in your photos isn’t just luck—it’s about using the right techniques and paying attention to the light. With a few tricks, you can turn an average scene into something that really shows off fall’s wild color palette.
Making the Most of Golden Hour Lighting
Golden hour—that sweet spot right after sunrise or before sunset—gives you the best light for autumn color. The sun’s low, the light’s warm, and everything just glows.
Set your white balance to “Daylight” or lock it in around 5500K so you don’t lose that warmth. Letting your camera auto-correct the color can kill the mood.
Try shooting with the sun behind the leaves. Backlighting makes them almost glow from within, turning even ordinary foliage into something special. And again, a polarizer can help kill glare and deepen the colors if things look too shiny.
Composing Shots for Depth and Texture
Composition matters—a lot. Use depth of field tricks to make your shots more interesting and show off the textures that make fall unique.
Give these a shot:
- Layering: Stack up foreground, middle ground, and background, all with color
- Framing: Use branches full of leaves to frame a wider view
- Leading lines: Paths or streams can pull the viewer’s eye through the scene
- Contrast: Bright leaves against dark trunks or blue sky always look good
Play with your aperture. For sweeping landscapes, stick to f/8–f/16. If you want to blur the background and really make those leaves pop, open up to f/2.8–f/5.6.
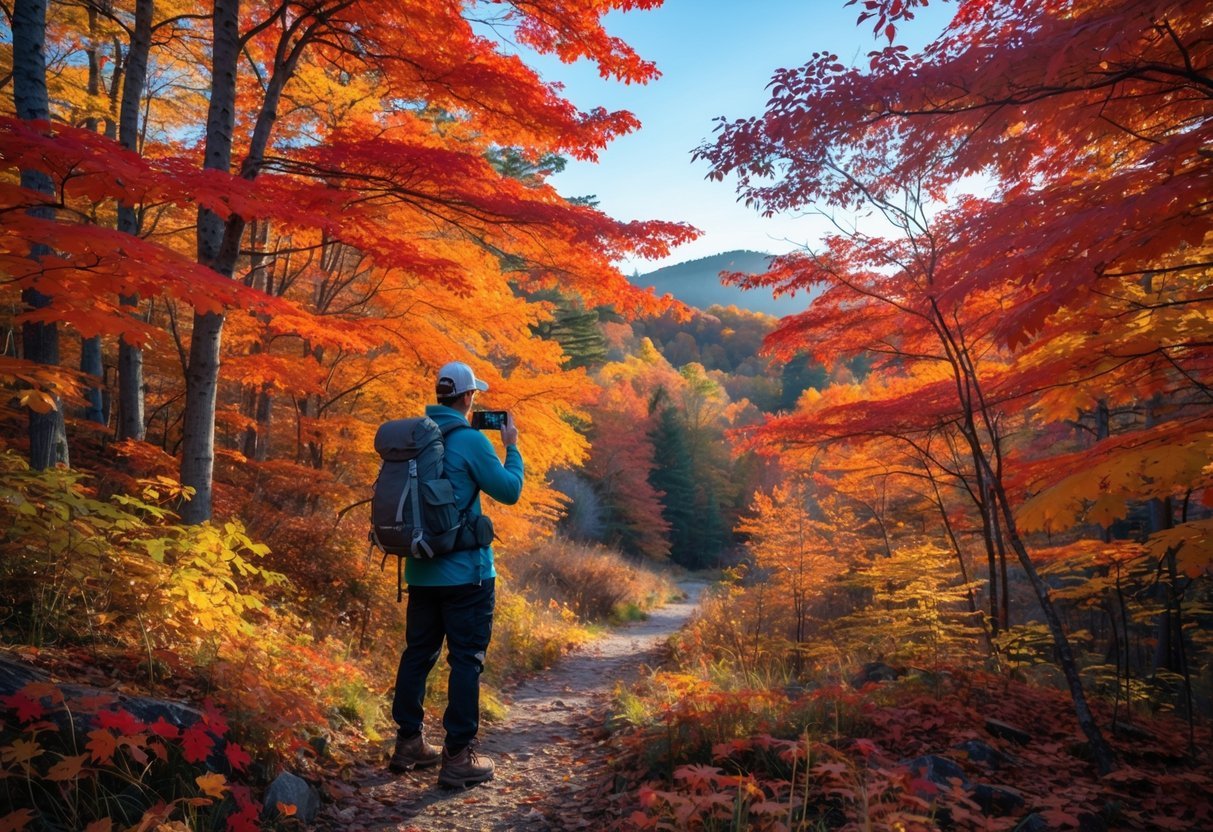
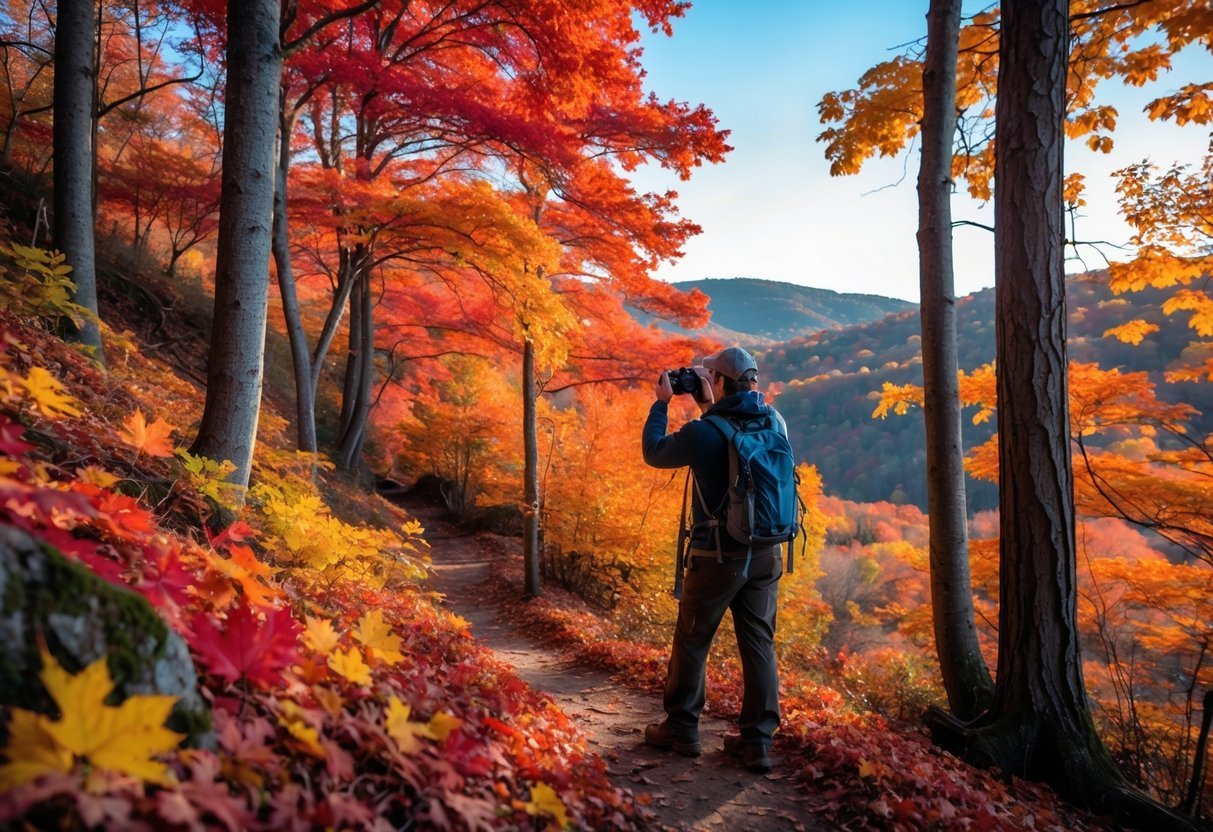
Throw in a person or an animal sometimes. A hiker surrounded by color gives a sense of scale and adds a bit of story to the shot.
Capturing Reflections and Water Scenes
Water doubles your color payoff. Lakes, ponds, and streams can turn a good scene into something unforgettable with the right reflection.
Go early, when the water’s still and the wind hasn’t picked up. Try to frame both the trees and their reflection in one shot.
Some ideas for reflection shots:
- Use a polarizer, but rotate it so you’re not killing the reflection you want
- Try longer exposures (2–10 seconds) to smooth out the water
- Add rocks or the shoreline in the foreground for extra depth
- Don’t be afraid to shoot verticals—they can really emphasize the reflection
If you’re shooting a dark water scene, bump up your exposure compensation a bit (+0.3 to +0.7) so you don’t lose detail in the shadows or the reflection itself.
Highlighting Details with Macro Photography
Sure, sweeping landscapes are gorgeous, but macro photography? That’s where you really discover what makes autumn leaves so captivating. Getting up close puts all those wild patterns, textures, and color shifts front and center—details you’d never notice from afar.
Grab a macro lens, or just use your lens’s close-focus mode, and start exploring. Some things to zero in on:
- Veins and unique patterns inside a single leaf
- Dew drops catching the morning light
- Edges where the color fades or changes
- Backlit leaves—sometimes they almost glow
Try arranging found leaves into patterns or little scenes. The stranger the shape or color, the better. If you want to fake a bit of morning dew, a quick spritz from a spray bottle does the trick.
For macro shots, a tripod helps a ton—tiny shakes can ruin sharpness when you’re zoomed in this close. Some folks like to use focus stacking for extra crisp results, especially if you want more of the leaf in focus.
Creative Approaches and Post-Hike Tips
If you want your autumn photos to stand out, it’s worth playing around with different techniques and getting creative during editing. There’s a lot more to fall than just the classic leaf-on-the-ground shot.
Experimenting with Abstract and Motion
Intentional camera movement can turn a row of trees into a streaky, colorful blur—almost like a painting. Set your shutter to about a second, then slowly move the camera up, down, or sideways as you shoot. It’s a fun way to break the rules a bit.
Or, try hunting for reflections. Calm water—ponds, lakes, even puddles—can double the color and create cool, mirrored scenes. Sometimes the reflected version is even better than the real thing.
Some other ideas worth a try:
- Macro photography: Get right in there and highlight leaf textures and veins
- Shooting through objects: Use leaves in front of your lens to frame the shot
- Low angles: Set your camera down among the leaves for a different perspective
Incorporating People and Movement
Adding people to your shots—especially hikers—brings a sense of story and scale. If you can, have your friends wear colors that really pop against the foliage. Red, blue, or white usually do the trick against all those golds and oranges.
It’s worth catching those unscripted moments, too. Maybe someone’s:
- Tossing a handful of leaves
- Walking a winding, leaf-covered path
- Reaching up to touch a branch
To freeze action, bump up your shutter speed. Or try slowing it down for some creative blur. And don’t forget about composition—put your subjects where leading lines like trails or streams pull the viewer’s eye right into the scene.
Post-Processing for Enhanced Autumn Tones
After your hike, a bit of thoughtful editing can really bring out the best in your fall photos—without pushing them into that over-processed territory. Here are a few adjustments worth trying:
- White balance: Cooling off those white skies just a touch can make them feel more natural in autumn scenes.
- Vibrance: Give it a slight nudge to perk up the colors, but don’t go wild—subtlety’s your friend here.
- Clarity: A gentle boost can help those leaf textures pop without making things look crunchy.
If you’re dealing with overcast or washed-out skies, maybe focus your shots on what’s below the horizon, or use a gradient filter to sneak in a hint of blue. It’s a small thing, but it can make a difference. Details matter.
It’s also worth pulling together your favorite autumn shots into collections—maybe sort them by location or by the mood of their color palette. Not only does this make it easier to spot your best work, it slowly builds a portfolio of autumn impressions that really capture what the season feels like.